This post marries up two things that I love: pork and ferments, so you’ll excuse me if it’s a little prolix?
I read a long-form article on the technique of fermenting food items; one in particular practiced in Thailand, called naem, using sticky rice, via the always interesting @shesimmers, cook Leela Punyaratabandhu. It’s not an unexpected process of course — koji being a hugely important component across the Far East “Koji – where East meets West in fermentation” — but it’s a whole fascinating rabbit-hole of reading, experimenting and eventual cooking. There are quite a number of pretty canonical books on fermenting in general (+ anything by Sandor Katz) of course…
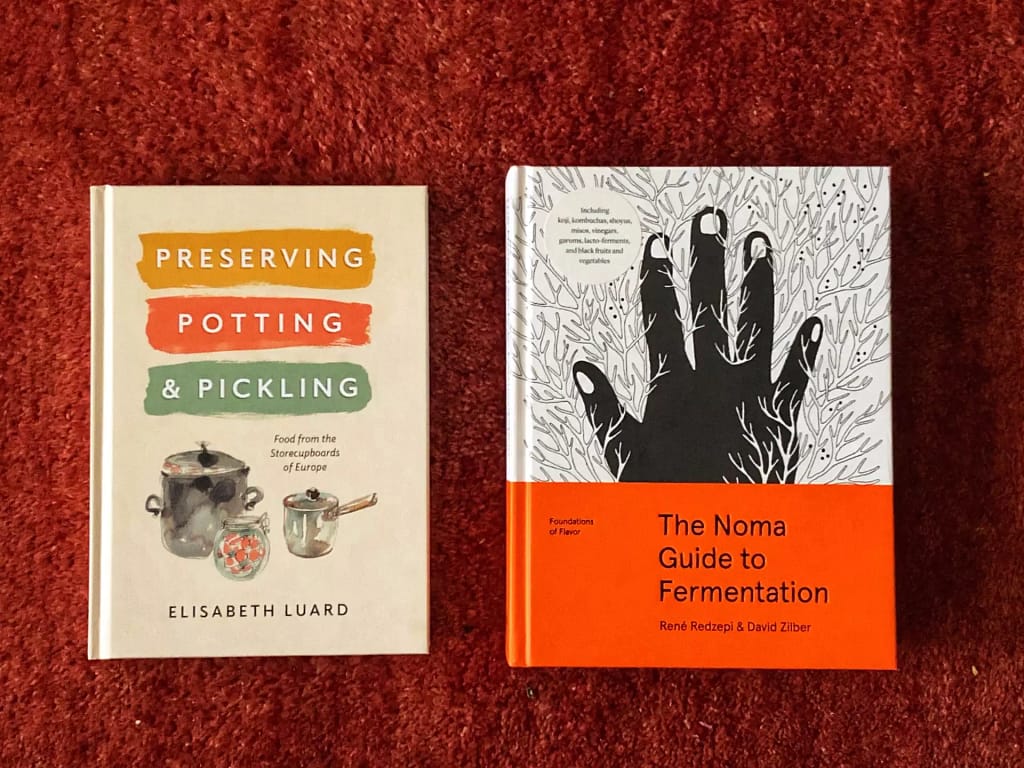
…but these two are a great introduction, to both the history and detail of using koji for information on, as they say
the magic of mould based fermentation

And now that you’re back from a quick stop to shop at eBay or Bookshop, having placed orders for both of these, back to the post…
The full article by Jenny Dorsey is readable here Naem_ The Art of Fermentation with Sticky Rice – Life & Thyme but here’s a few quotes to wet the proverbial:
“puzzling over its sour, salty and sweet complexities that seemed to evolve and deepen as I chewed.”
“Naem is most commonly used to refer to soured pork sausages, found in almost every market in the Northeastern (Isan) region of Thailand. The presence of naem is particularly pronounced in this region due to its landlocked geography and subsequent focus on raising pigs and using pork in the cuisine”
“The hallmark of naem is a sourness of the finished meat product, which comes from the process of lactobacillales (lactic acid bacteria) eating the sugar from the sticky rice and converting that into lactic acid.”
And this is her version of Style Fermented Boneless Beef Short Ribs (Adapted from “Thai Soured Pork Ribs” recipe by SheSimmers
Yield: 1 lb. boneless beef shortrib
Prep Time: 1 hour
Fermentation Time: 3-5 days
Active Cook Time: 15 minutes
Inactive Cook Time: 48 hours
Method:
- Pat short ribs dry with paper towels.
- Thoroughly clean and dry garlic.
- Place garlic, sticky rice and kosher salt in food processor and process until the mixture turns into a sticky, smooth paste. Any visible garlic should be in small, even pieces.
- Prepare one or two suitably sized vacuum-sealer bags and prop them open wide.
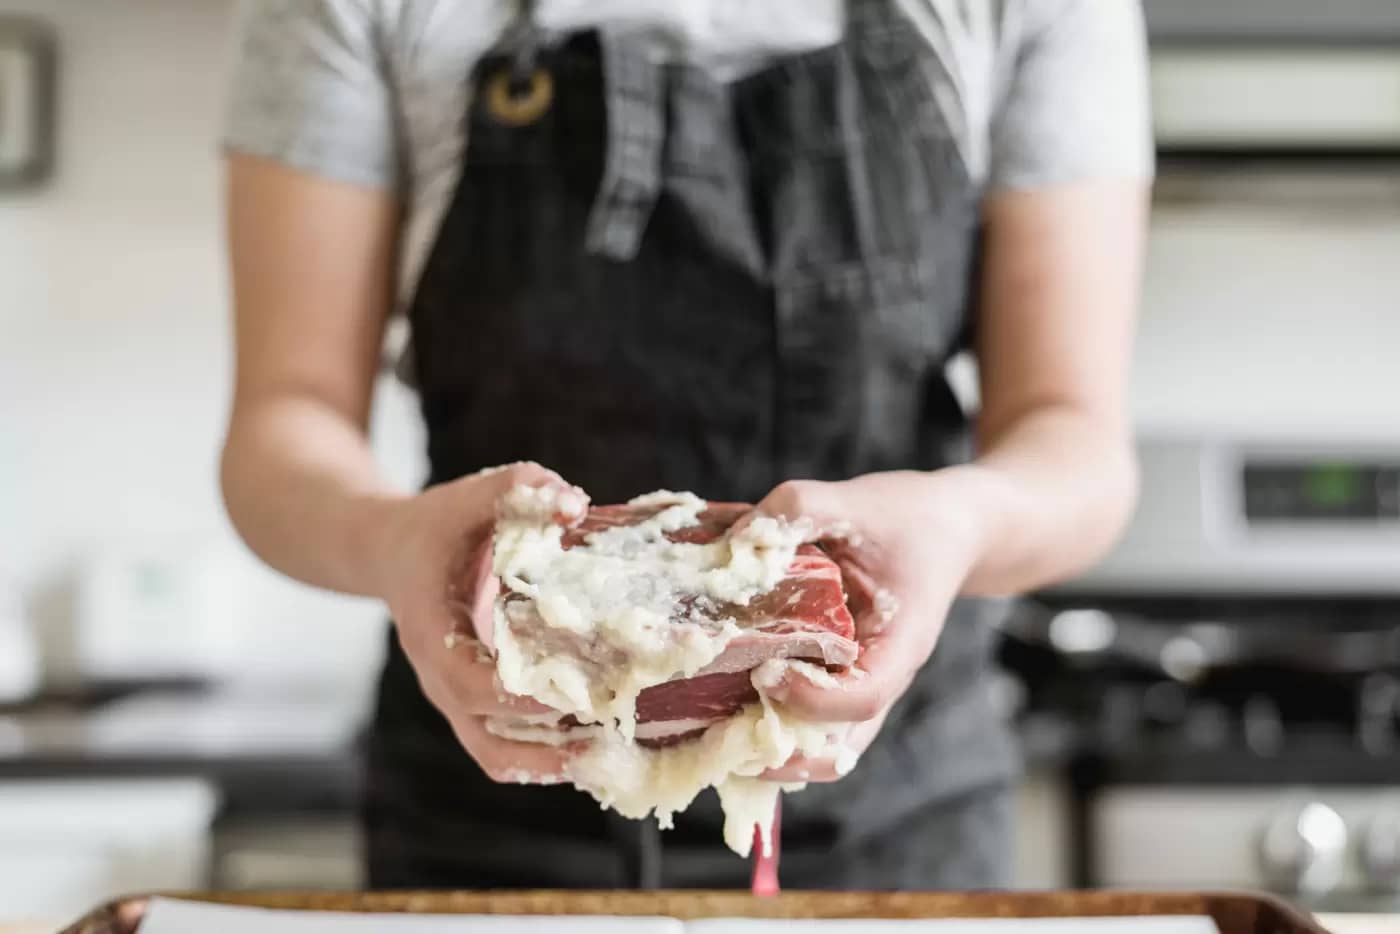
- Using gloved hands, divide up the paste into roughly equal parts, matching the number of shortrib pieces you have. Scoop up the paste and slather all over each piece of shortrib making sure to cover all surfaces. Do this as quickly and in as few motions as possible, as the paste tends to begin sticking to your hands and itself instead of the shortrib.
- Carefully place short ribs into vacuum-sealer bags, avoiding the bag’s sides. Repeat until all pieces of shortrib are in bags.
- Vacuum seal each bag.
- Place shortrib in a warm, well-ventilated area inside your home. You’re aiming for a range of 75 degrees Fahrenheit to 85 degrees Fahrenheit with a humidity around 50%.
- After 3 to 5 days, remove short ribs from vacuum-sealer bags. Heat up a cast iron skillet or grill pan until smoking, fire up an outdoor grill. Place short ribs on skillet, grill pan or grill and sear or char on all sides until blackened.
- Prepare one or two suitably sized vacuum-sealer bags and prop them open wide. Preheat sous vide to 135 degrees Fahrenheit.
- Transfer charred short ribs into vacuum-sealer bags and seal. Place bags into water bath.
- Let shortibs cook sous-vide for 48 hours.
- After 48 hours, remove short ribs from vacuum-sealer bags. Blot short ribs dry with paper towels.
- Heat up a cast iron skillet or grill pan until smoking, fire up an outdoor grill. Place short ribs on skillet, grill pan or grill and sear or char on all sides for 30 seconds.
- Let short ribs rest 3 to 5 minutes before slicing and serving.
Notes:
- Choose fresh, high-quality beef from a purveyor you trust as well as fresh garlic. It’s best to use whole, organic garlic that you peel at home instead of using pre-peeled garlic.
- If you are nervous about fermenting raw meat, you can use a curing salt with nitrites, which is used to specifically inhibit the growth of botulism spores.
- If you end up using naem powder mix, which contains a mix of different curing agents and preservatives, follow the directions on the packaging for fermentation steps instead of these above because the bacteria used is not the same as those for lacto-fermentation. You can pick back up after the fermentation steps are complete.
- If you do not have a vacuum sealer, you can also place short ribs into a non-reactive container (i.e. glass jar) and pack it tightly to remove as much air as possible. This is important because lactobacillales works best in low-oxygen environments.
- If your home’s ambient temperature is different from the range above, adjust the fermentation time accordingly (adding a few days for cooler areas, removing a few days for warmer ones).
- The level of sourness in naem is very much a personal preference, so don’t be afraid to cut off a few pieces throughout the fermentation process to see at what point of the cycle you like the flavor most. Make sure to wear gloves and use clean (preferably sterilized) tools when interacting with the in-process naem, and to cleanly re-seal after each test.
- If you want to test the pH of your short ribs for safety, you can cut off a piece of the meat, add distilled water, blend into a liquid-y paste, and insert a pH strip. Your pH should be 4.6 or lower.
- The garlic may occasionally take on a greenish tint in the later stages of the fermentation process. This is not a cause for concern.
- You can skip the first round of grilling if you want to cut down on time, and simply plop the short ribs directly in the sous vide. I personally like having some of that charred flavor infusing into the shotribs, but it won’t dramatically change the final product if you skip the step. You will, however, need to grill the short ribs a little longer at the end to replicate the same surface char.
- If you do not want to sous vide the short ribs, you can also sear and braise them or roast them in the oven until your desired level of doneness.
- If you prefer a more well-done shortrib, you can raise the temperature of the sous vide to your preferred internal temperature.
- If you are not eating the short ribs right away after it comes out of the water bath, you can chill the short ribs down and keep them refrigerated (or frozen) until you are ready to eat them. Reheat them at the same temperature you cooked them initially.